This one came from my grandmother, by way of my mother. Like all old desks it has a secret compartment.
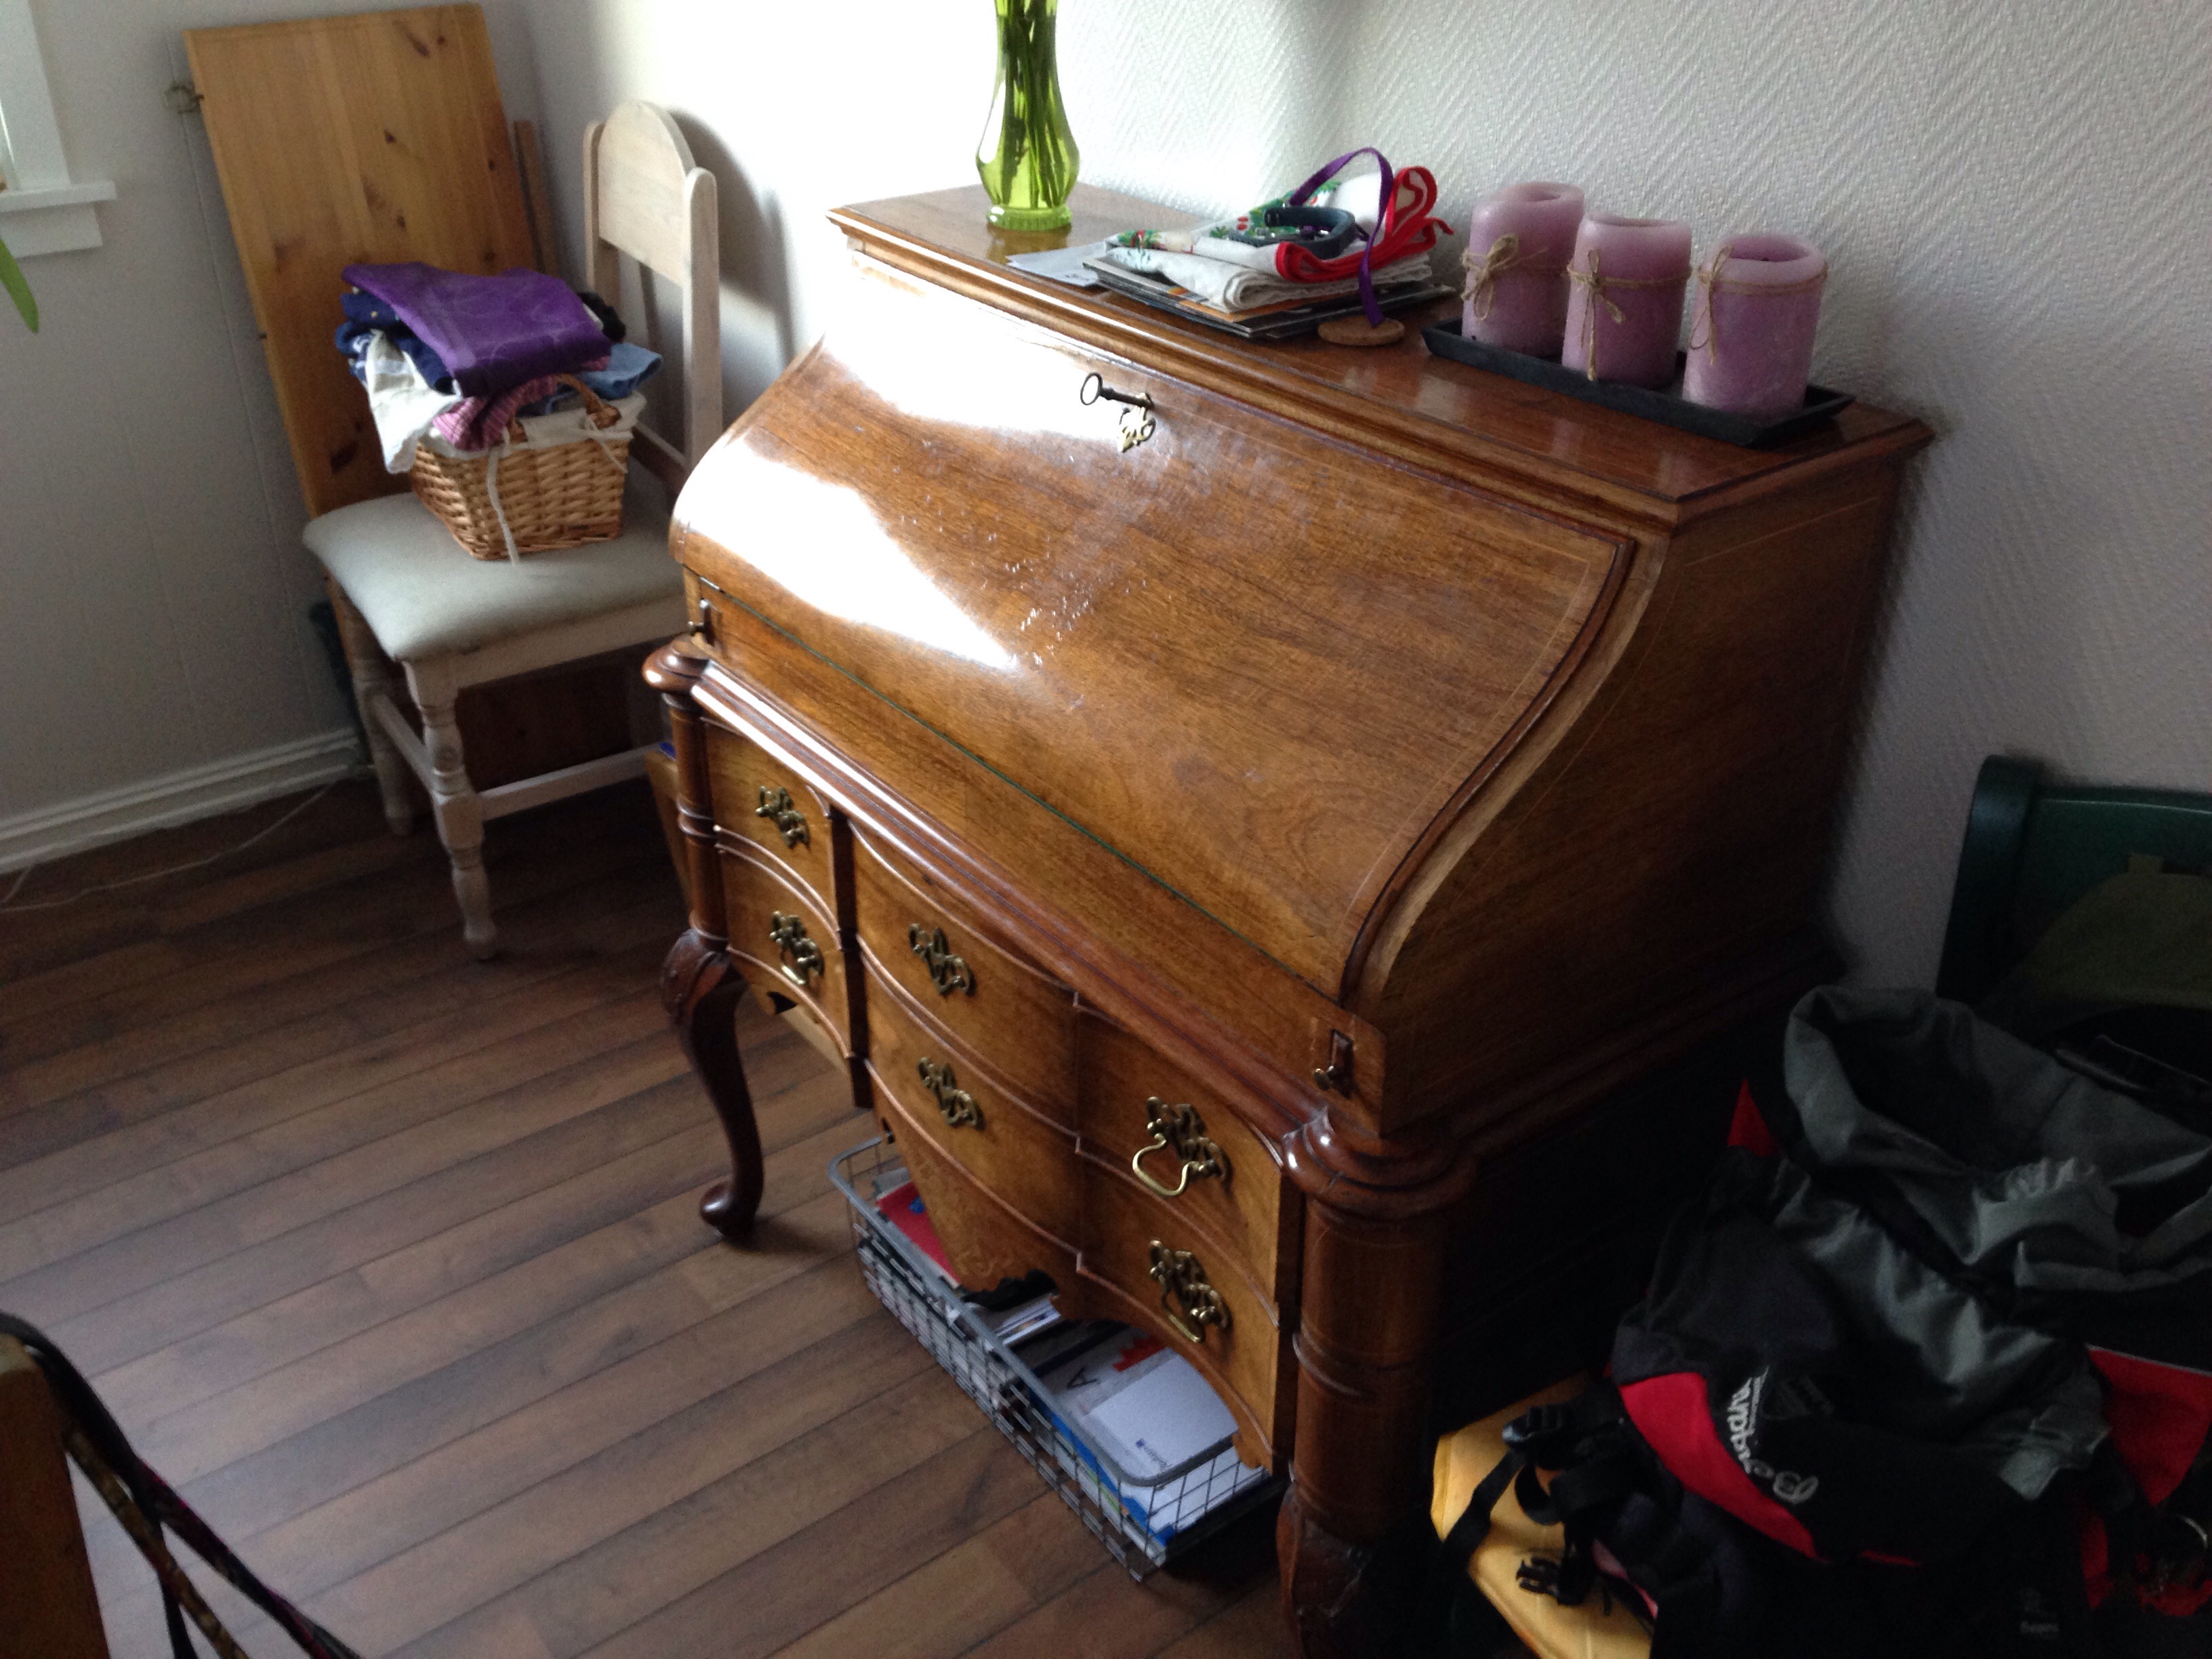
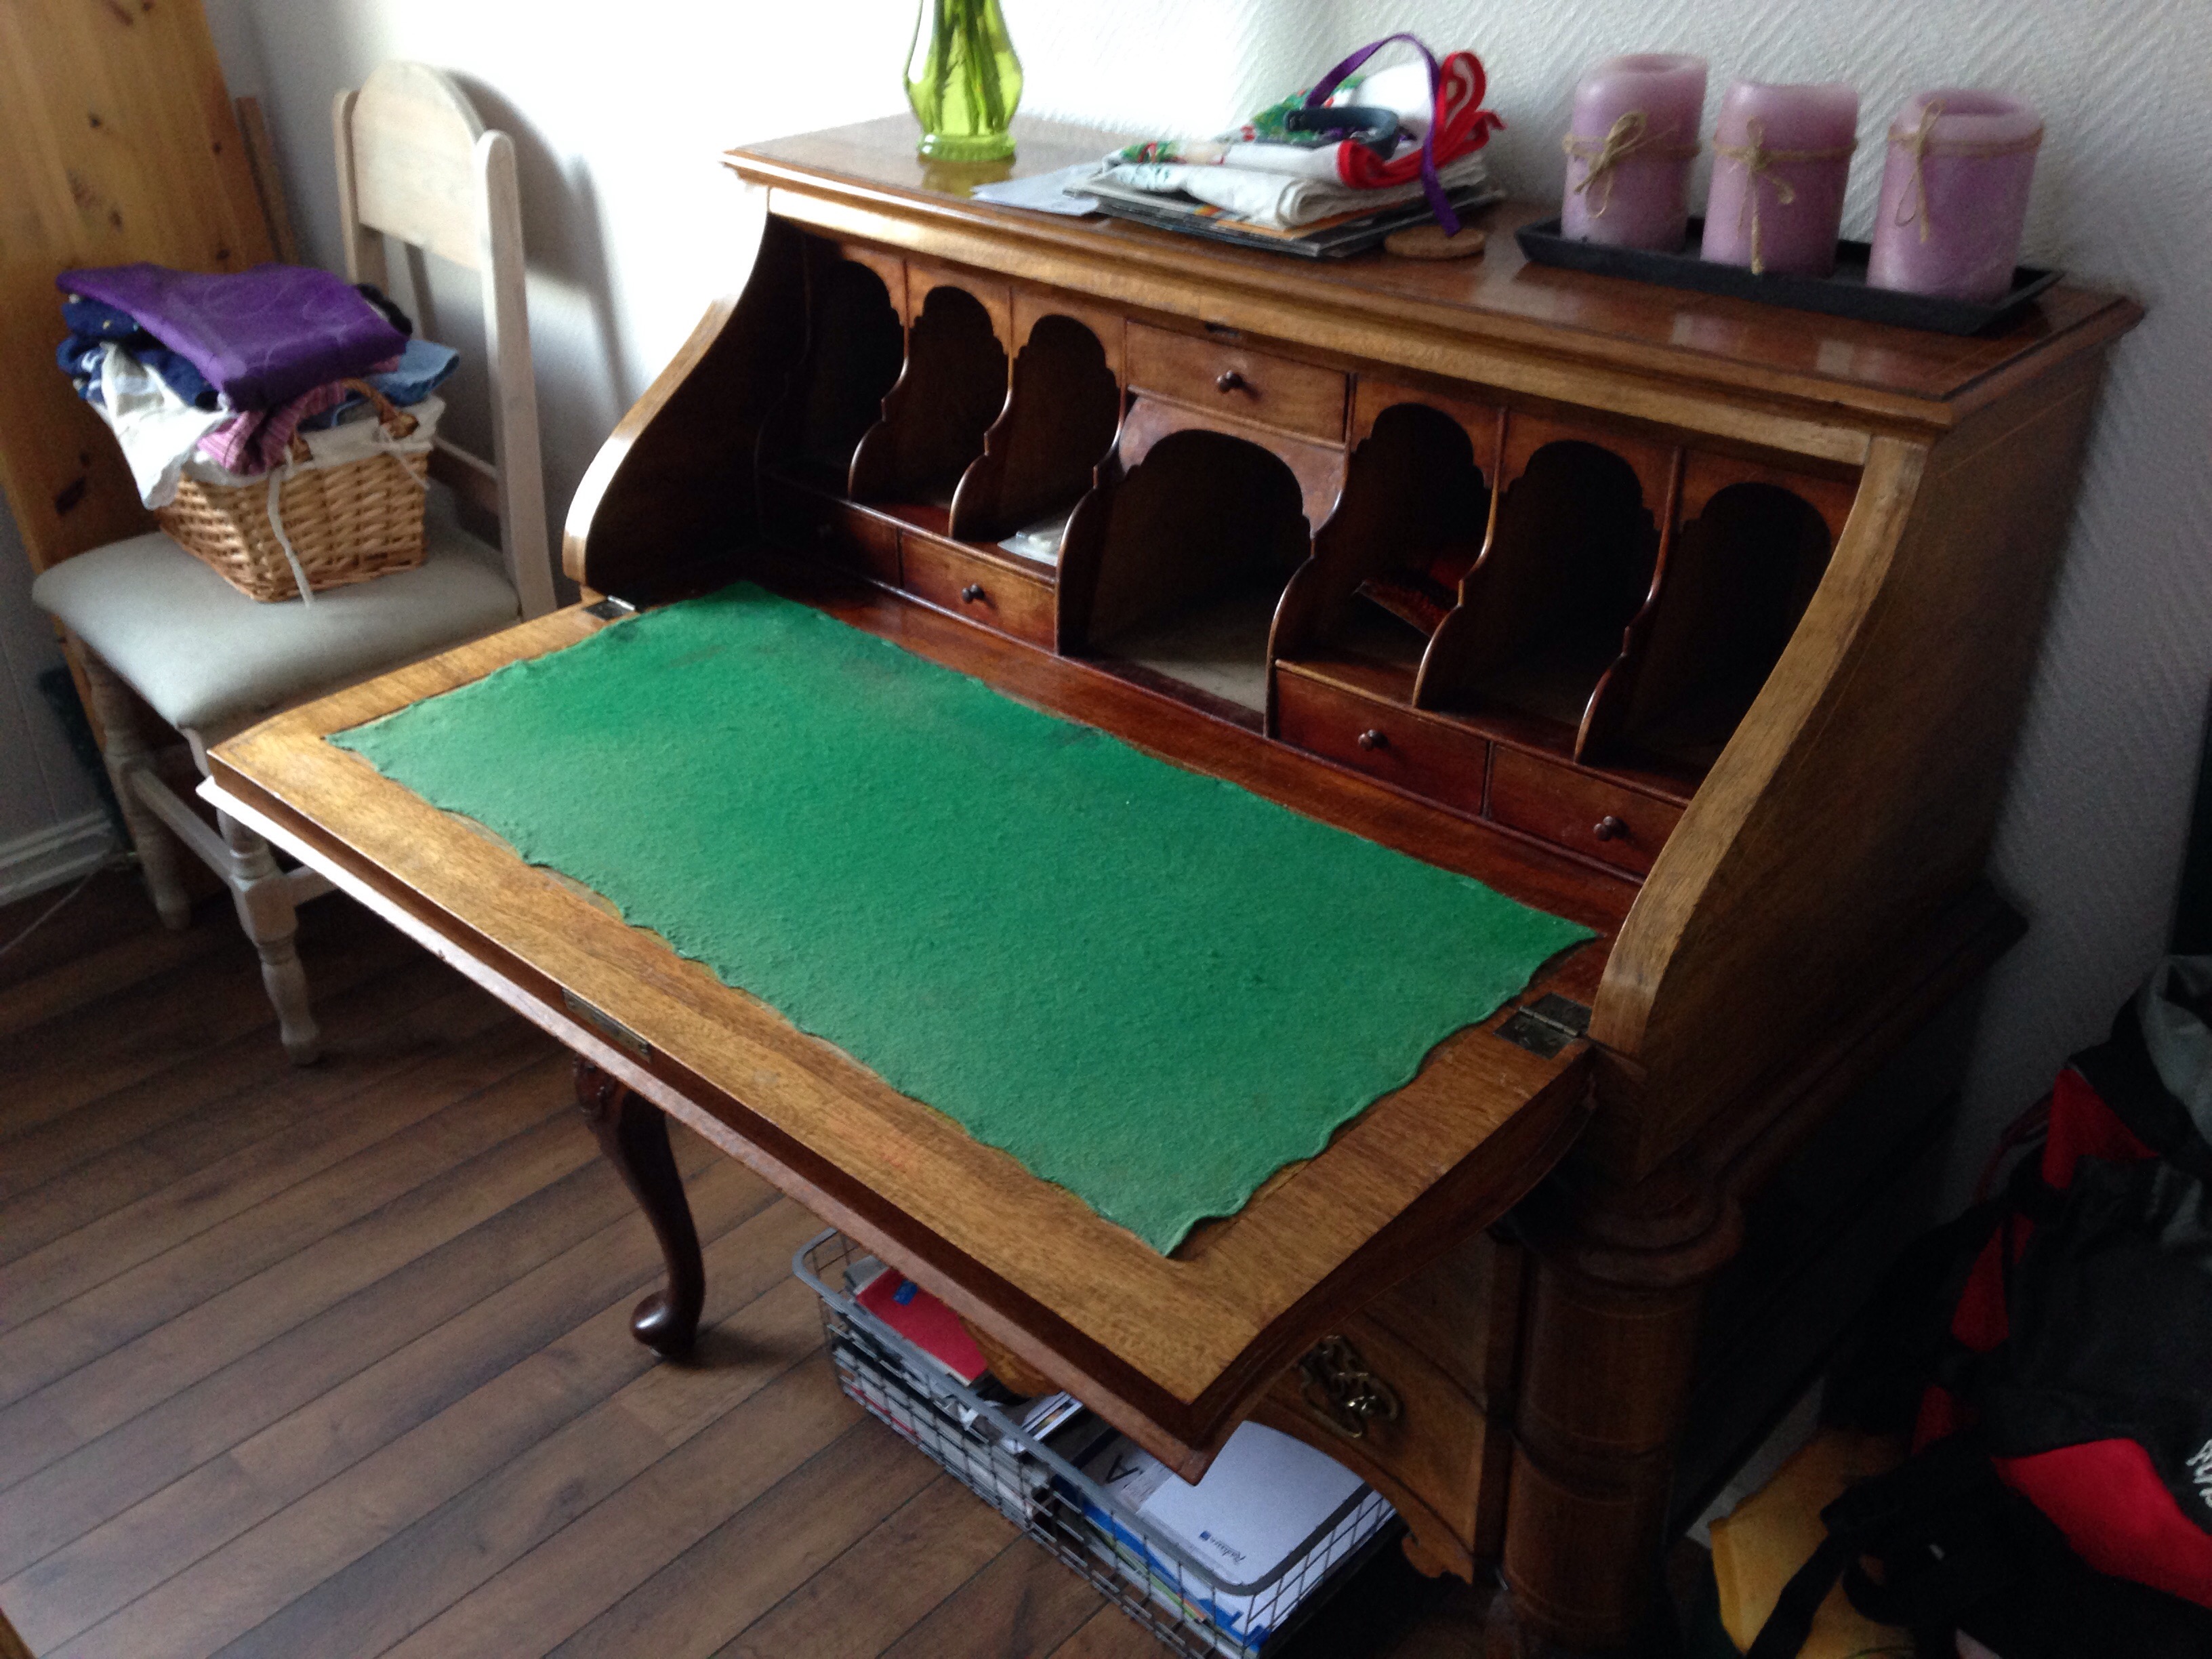
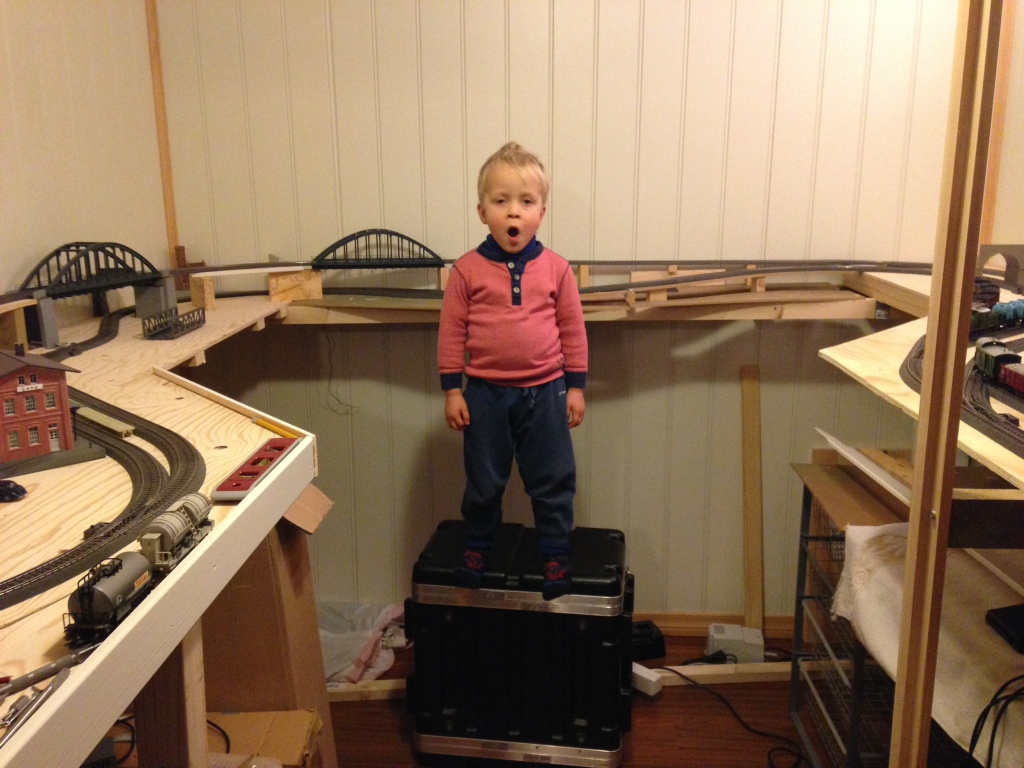
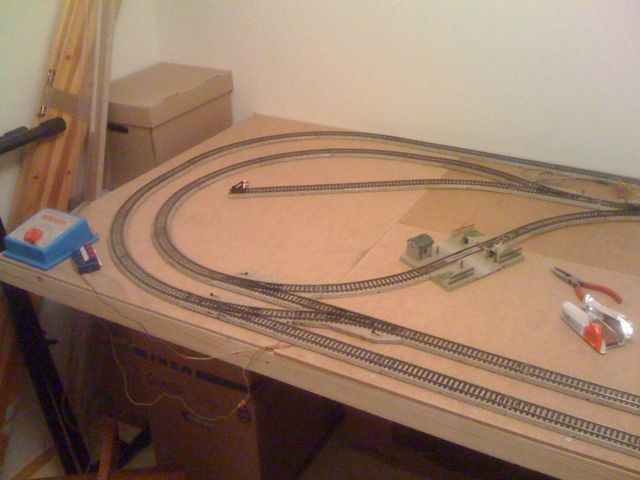
A new project begins 🙂
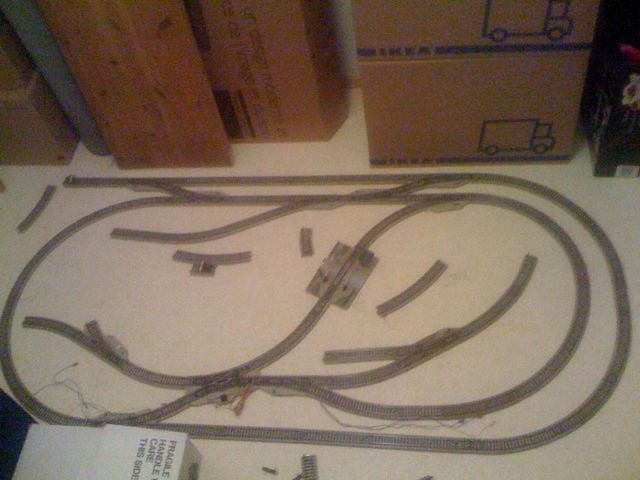
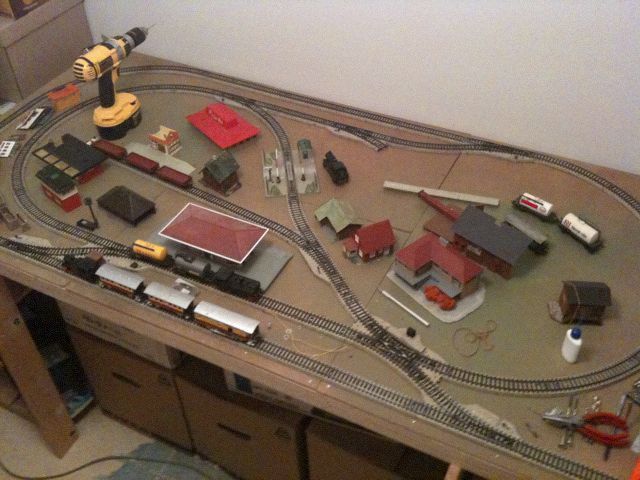
The Oberwurstwiller Line connects the growing city of Milhouse with the village of Oberwurstwiller. It also serves the Thannwerk mines.
The primary freight business is hauling coal from the Thannverk mines to the processing facility in Oberwurstwiller. Fuel products are then transported to Milhouse. Various freight is also transported from Milhouse to Oberwurstwiller.
There is mixed passenger traffic between Milhouse and Oberwurstwiller.
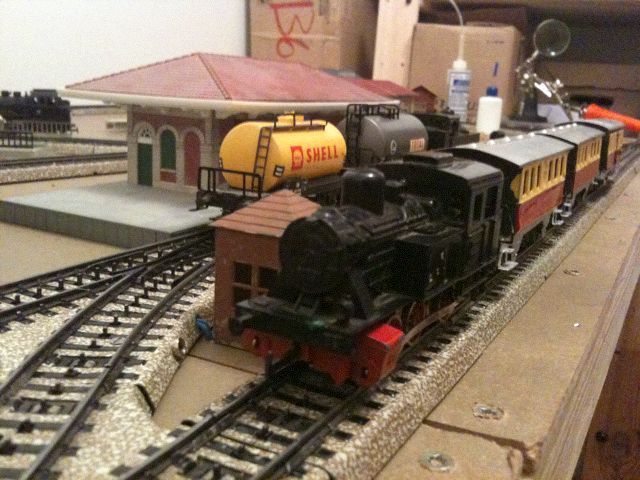
The line uses a mix of steam and electric traction.

Despite a meager summer it seems we still have things to eat from the garden. The squash made a serious comeback and may yet produce more if the weather stays fair. Tonight we kicked our pasta up a few notches with a decent tomato sauce from specimens ripening on windowsill, and topped it with a stir-fry of homegrown squash and peas. Yum.
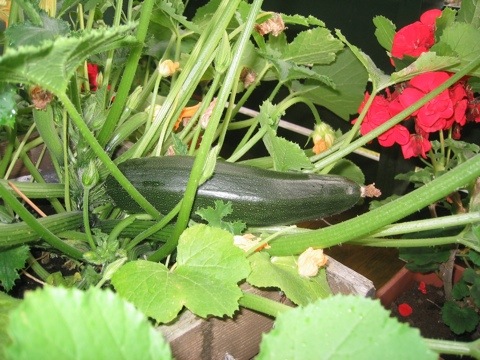
It’s been a lousy summer in our outdoor growing spaces. Cold and wet most of June & July makes for poor crops. This squash plant remarkably survived the weather and neglect from us and produced this fine specimen ( enjoyed tonight on the grill ).
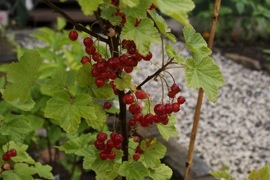
Otherwise we had a few cucumbers and tiny, hard-skinned, but flavorful tomatoes in the green house. A small crop of sugar peas (should do more of these next year), berries and some apples on our new tree. Gardening is not for the faint-hearted in Norway 🙂

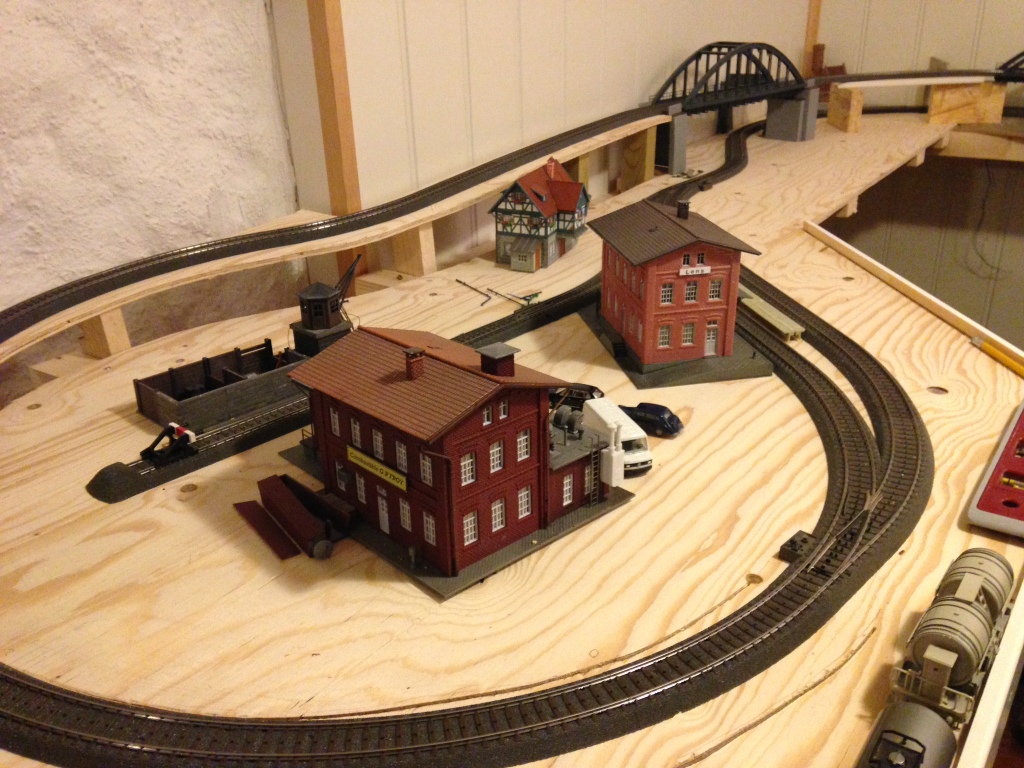
 In a closet at the cabin I found 3 boxes of childhood memories; the contents being my old Marklin trains. These are trains made for kids, solid metal constructions with less detail and realism but durable enough to survive years of abuse. Given the limited “trainable” space in the new house it seemed a good opportunity to build a small, “old school” layout with the Marklin stuff.


| So early on we decided on a custom built shower, as opposed to a prefab fiberglass shell. This allows you to use ceramic tiles inside the shower, which looks great, but is also a bit harder to do. To guide me in this whole thing I found some great online tutorials at the John Bridge Tile forum “Liberry”. Definitely worth a look if you happen to be building a shower! | 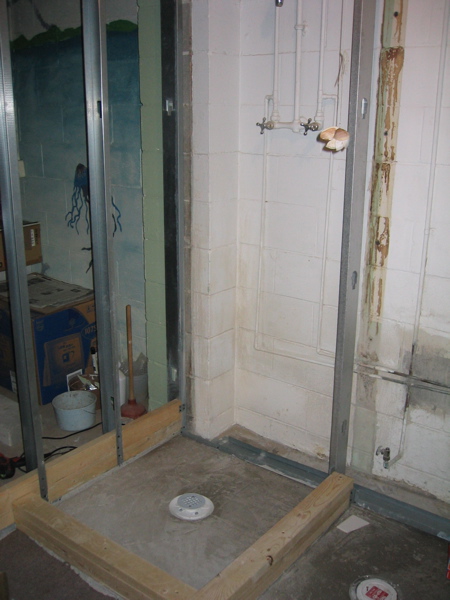 |
| We also had Dog the plumber run new piping to the bathroom instead of using the old stuff that was there. We could probably have used some of the existing stuff but would have had to run some new lines anyway. Now its all nice and shiny, well not really since its all modern plastic piping. Looks pretty easy to do being all flexible and not requiring any gas-torch welding. |  |
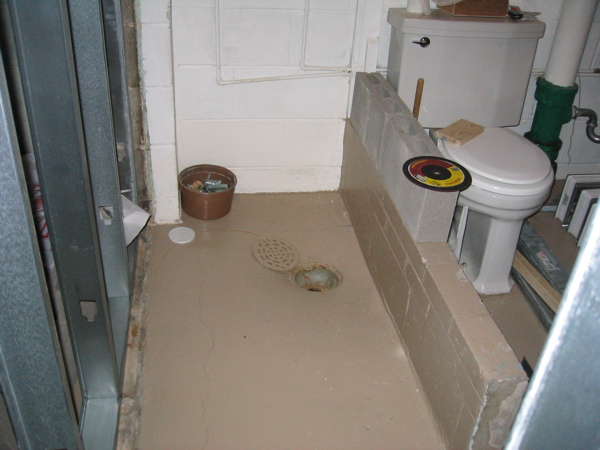
| When completed the base has many layers. First a reinforced concrete base which establishes the slope towards the drain in the center. Next a PVC liner to waterproof the base and direct seepage towards the center. This is topped by another layer of reinforced concrete. The base is now ready for ceramic tiles. |  |
| With the base in place it’s time to put up some walls. I’m using cement board since it is the most water resistant (and this being a shower….) It’s really heavy though but fortunately it comes in smaller sheets than regular wall board. You can see the cutouts for the shower handle and head. The original plan was to put both on the inside wall, but apparently there is some code against putting the handle on a wall you cannot access from the other side, so off to the side wall it went. I think it works ok, although I wonder if it couldn’t have been a little further out from the corner. | 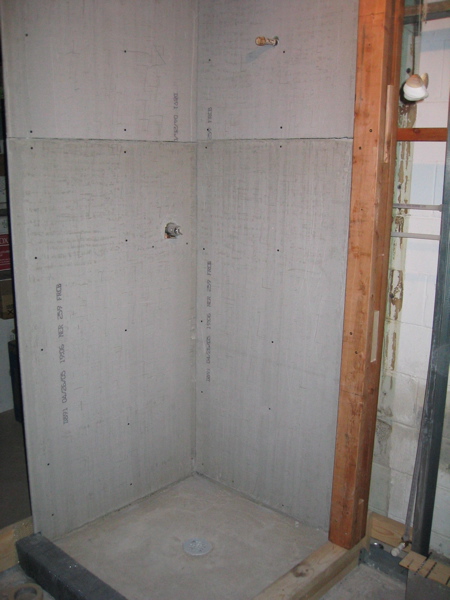 |
| For the other wall we are putting up a glass block wall. I am doing the lower third in brick, covered by ceramic tile. Here I am leveling the top to prepare for the glass blocks | 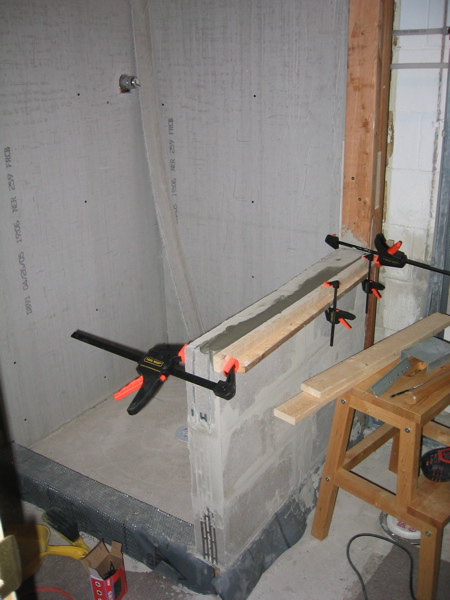 |
With the old bathroom mostly gone it was time to start the new one. We are using metal stud framing for the walls, it’s lightweight and very easy to install.
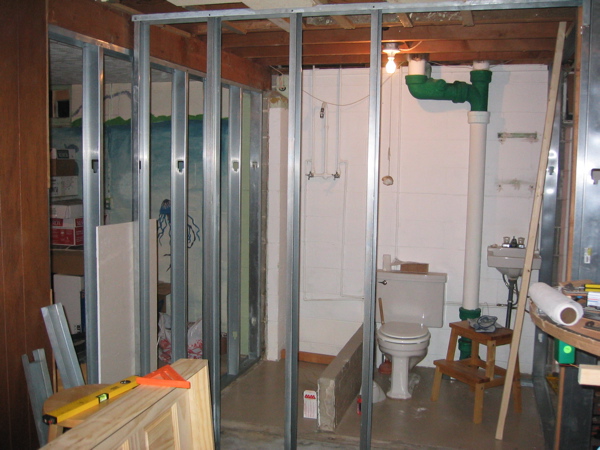
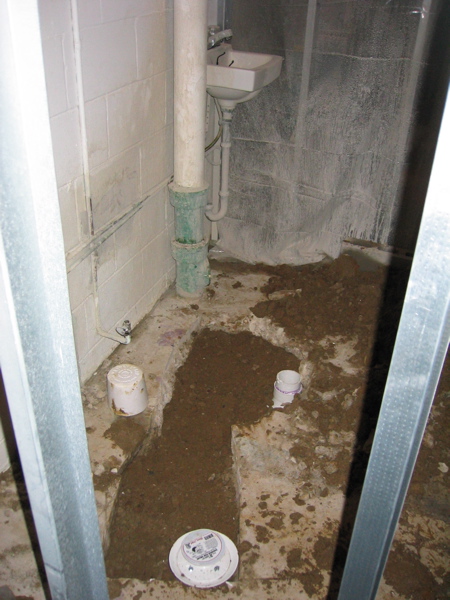
So we had a “blah” basement. 1970’s style complete with ugly carpet and dark faux wood paneling. And lets not forget the “prison-style” bathroom. It was in urgent need of serious TLC.
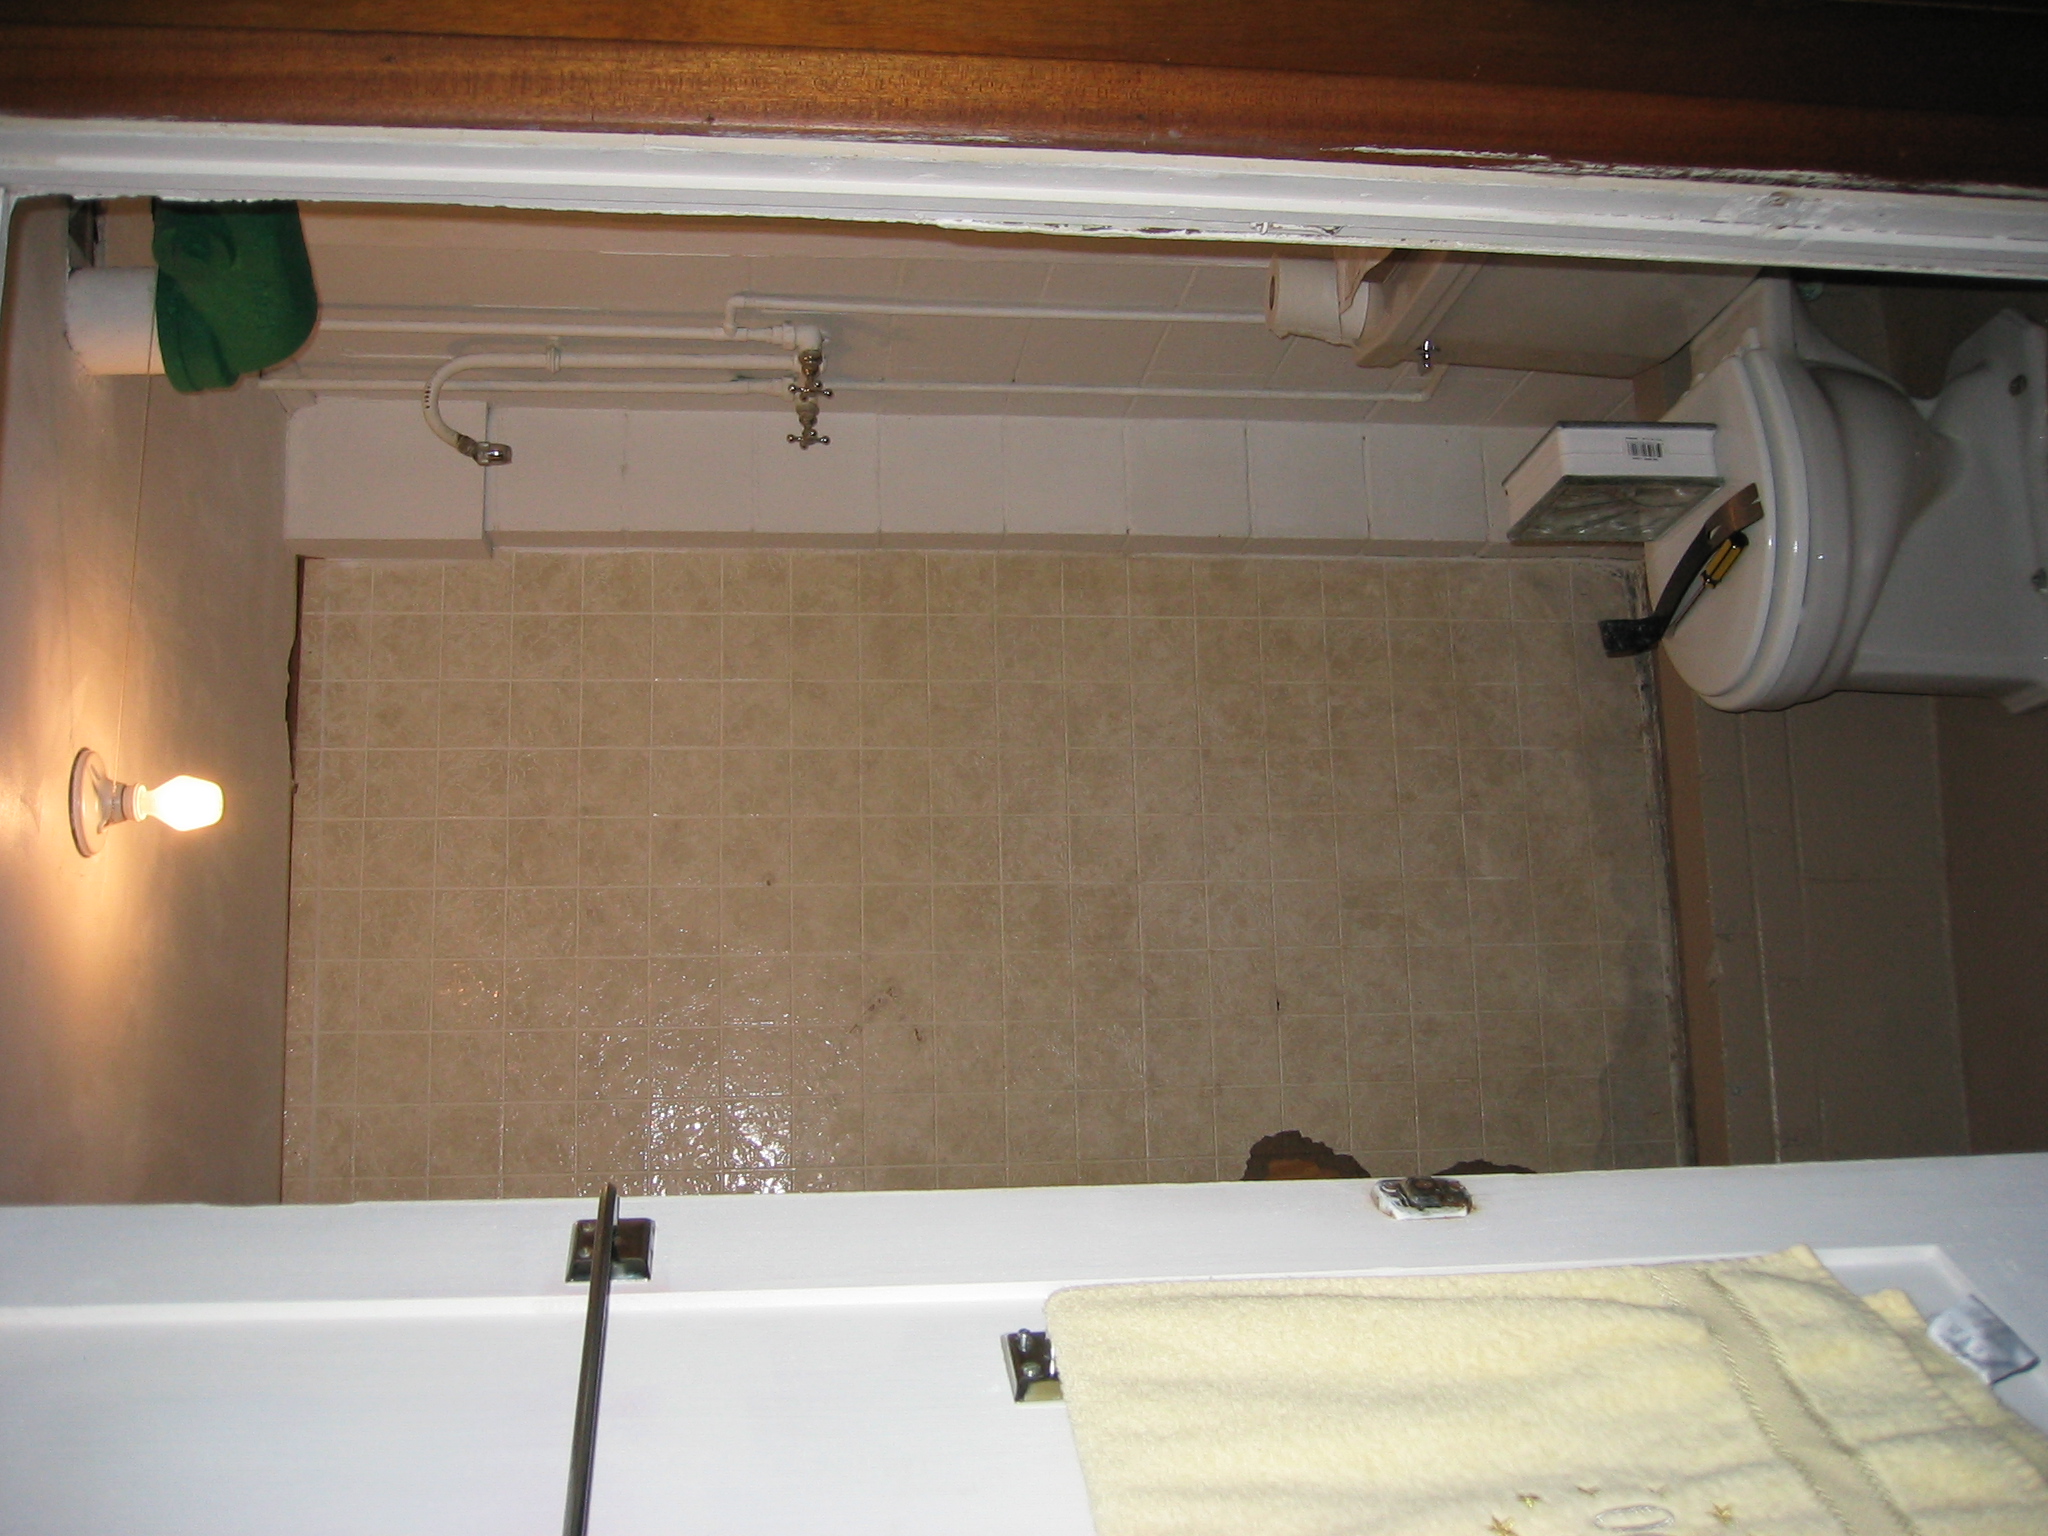
I had wanted to do something to it for a while but it wasn’t until Sabine’s parents came to visit that things got started. Sabine’s dad was itching for some renovation action and I think hoped to get this all done in the week they were visiting. Oy! Not happening. But he did make a serious dent (no pun intended) in the bathroom!